The extension assists freelancer, employer and admin to track the project progress thanks to the road map of the project steps showing which task is done and which one needs to be completed. By this way, employer and freelancer can go through the project’s working flow smoothly and also give admins a general view point of what they have got in their project in case of there is a dispute.
How to install:
Automatic installation:
1. Download FRE Milestone from your EngineThemes account.
2. Go to Plugins > Add new > Upload Plugin > Choose FRE Milestone > Install Now.
3. Click Activate Plugin to activate it.
Manual installation:
1. After purchasing FRE Milestone, download it from your EngineThemes account.
2. Extract the downloaded file into your wp-content > plugins folder.
3. Activate the plugin in “ Plugins” tab in the back-end.
How to set up the extension in Dashboard:
In the back-end (Engine Settings > Milestone), admin can set the maximum number of milestones per project.

Moreover, Admin can edit the email templates for updating, resolving, reopening and closing actions.
Note: You can get email templates by click on Reset to default underneath every email box as the below pictures.
1. Update Milestone Template
When there is still no bid acceptance for the project and employer edits the milestone in his project, the template is considered an email notification sent to all freelancers bidding on this project.
Note: When the employer has selected a freelancer for the project, both will open the workspace to start working on the project. From this time, the employer cannot make any change to the milestones.

The other three email templates are used to notify freelancer or employer when there is a new action like marking as resolved, reopening or closing a milestone during the workspace period.
2. Resolve Milestone Template
It is sent to the employer when freelancer marks a milestone as resolved.

3. Reopen Milestone Template
It is sent to freelancer when employer reopens a milestone.

4. Close Milestone Template
It is sent to freelancer when the employer closes a milestone.

This is how milestone works in the front end:
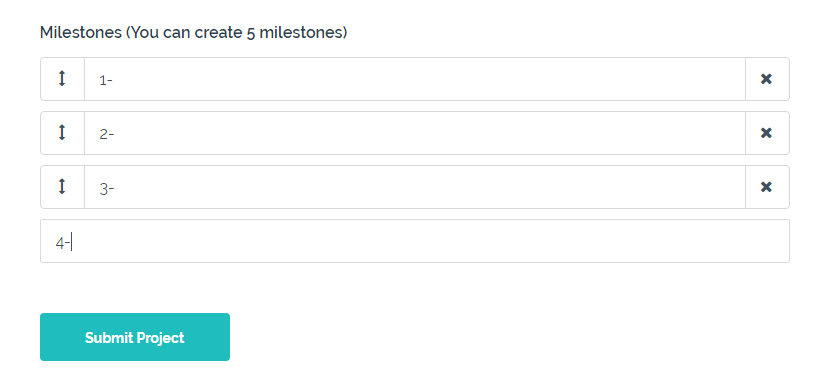
1. To create a milestone in the project posting form.

Just simply add a value and click enter.
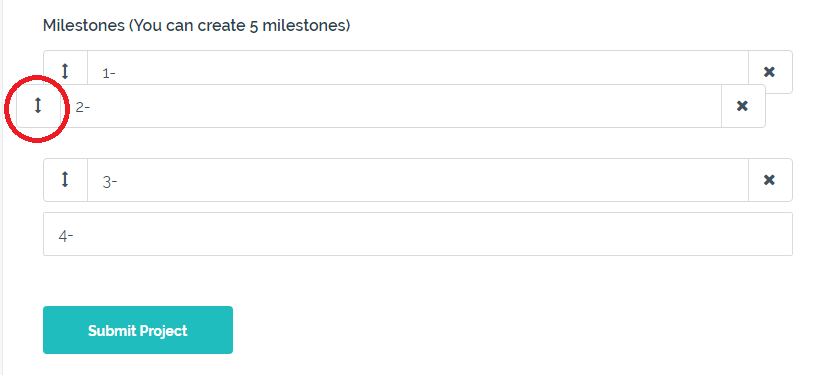
2. To change the order of milestones, use the arrow on each milestone to drag & drop. Don’t forget to click Submit Project to save your post.

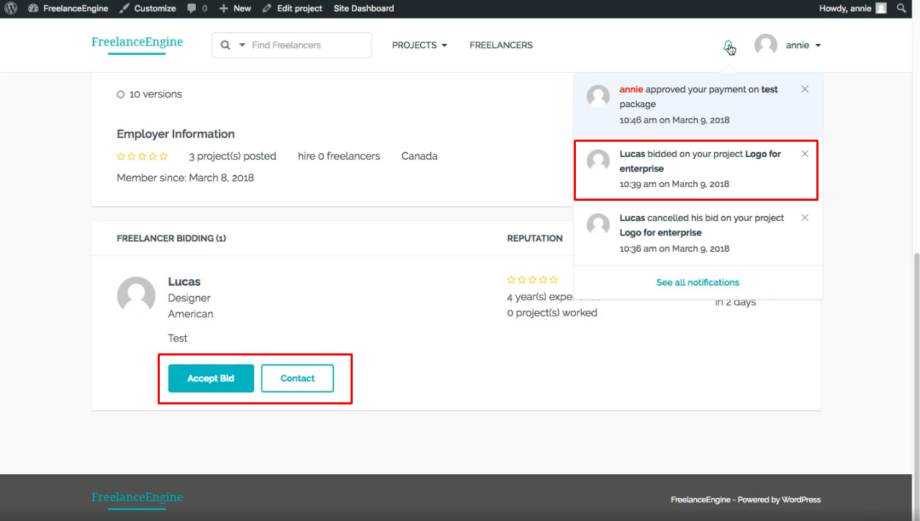
3. From the employer’s side: A notification will be sent to him when a freelancer bid on his project. He can Accept Bid or Contact the freelancer for more information.

4. From the freelancer’s side: When finishing a step, the freelancer can mark Resolved in drop-down menu under each milestone (see image below). The employer will receive an email when freelancer resolves a milestone.

Note: Freelancer cannot undo this action. If he wants to reopen the milestone, he has to contact the employer.
5. From the employer’s side: After freelancer resolves a milestone, the employer can check and decide if that results matching his requirement.
- If he isn’t satisfy with the result, the employer can re-open that milestone by clicking to Open button underneath that milestone then click mark Re-opened.
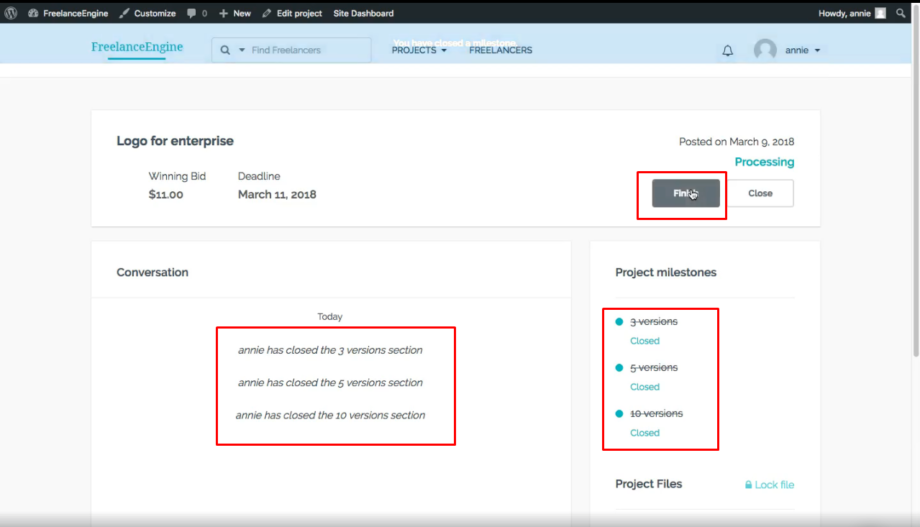
- If the result was good, the employer can close that milestone by clicking to Open button underneath that milestone then click mark Closed (The employer also can close the milestone if he doesn’t need it anymore without waiting for freelancer’s resolve action or approval).

Note: Once employer closes the milestone, he cannot re-open it.


Leave A Comment?
You must be logged in to post a comment.